Technical Information
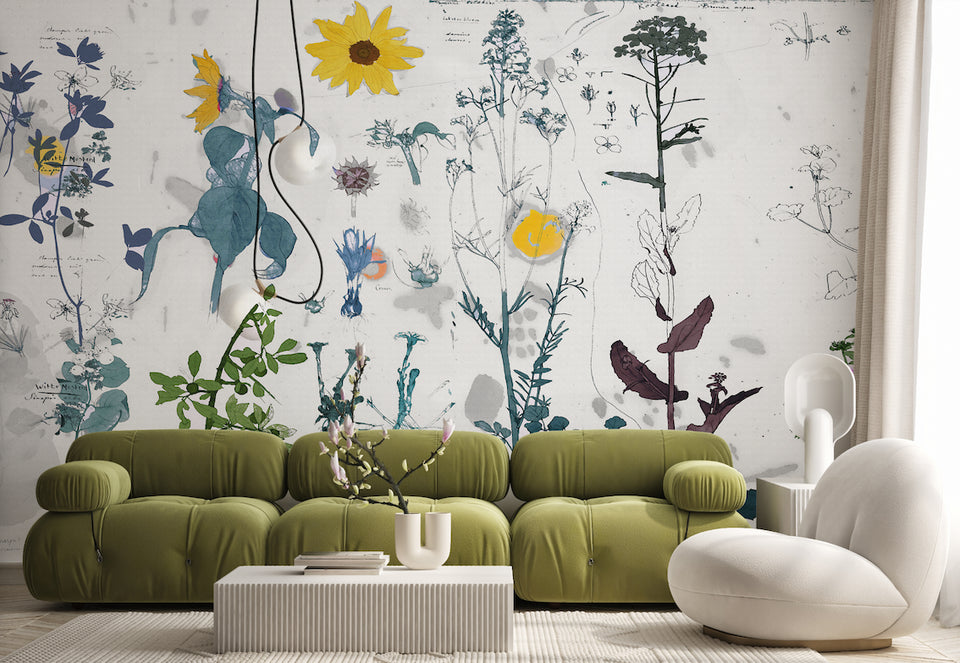
Please check the wall measurements and compare them with the print size, written on the top of each panel. The panels are cut to butt-join.
Wall Preparation
The wall must be clean, smooth and dry before applying wallpaper. See image (A) for tools that might help you with the installation. Close the window and switch off the air con to avoid rapid drying of the wallpaper.
Application
Lay the wallpaper face down onto a drop sheet and apply water liberally to the pre-pasted side with a spray bottle
(B) so that the dried paste on the back can grow. Fold it and allow to book for about 3 minutes before applying to the dry wall (C).
Apply the panel to the wall by first aligning it to the desired position. Smooth out the wallpaper using a a large sponge and a wide soft wallpaper brush (available from most home décor and hardware stores). Avoid pressing your fingers into the surface or using excessive force with squeegee as this will make indentations or force the adhesive out the sides of the wallpaper.
With the wallpaper brush, it is important to smooth out the air bubbles, but do not overwork the application.
Use a new sharp blade to carefully trim top and bottom. Flatten seem with a seam roller.
In case the wallpaper has dried before you have applied it to the wall or some part of the wallpaper didn’t stick, you
have to get wallpaper paste to put on the wall to make the wallpaper stick again as re-spraying with water might not create enough adhesion.
Clean-up
It is normal for some adhesive to leak out the sides of the panels during application. These must be carefully wiped away immediately using a damp sponge or cloth.
Removal
Remove the wallpaper by wetting with either a damp sponge or spray bottle. Scouring tools are not normally required. Allow approximately 5 - 10 minutes for water to soak through to the adhesive and then slowly peel the wallpaper off the wall. Some traces of adhesive will be left on the wall. These can be wiped away using a damp sponge.
